Hull
Hull | |
|
Drilling holes through the hull into the skeg is awkward as the centre girder is in the way forcing the holes to be drilled at an angle.
Pilot holes were drilled without the skeg in place with the hull the right way up.
The hull was then turned over, the skeg held in place with a clamp at aft end and 2 screws towards the forward end.
These 2 screws were recessed in an 8mm hole which was filled with a plug once the skeg was finally fitted.
The pilot holes were then drilled through into the skeg, the skeg removed and clearance holes drilled in the hull.
The screws which lie through the hull at an angle could pull the skeg out of line so these screws were only put in place once the epoxy had cured.
I only have one large clamp. It was put to use infrequently but on the occasions it was used it was the solution to the insoluble problem. |
|
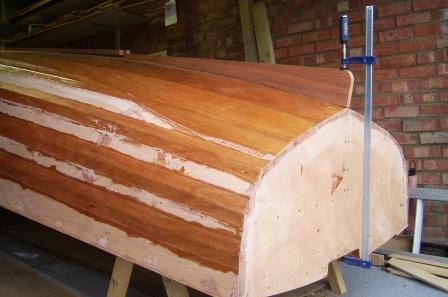
| My first attempt to laminate the bow stem cap used 5mm hardwood strips, this was too thick as the laminates split. I cut some 3mm laminates on the table saw and these curved into shape uneventfully. A combination of wedges (against the wall and roof of the garage) and roof rack straps were used to curve the laminates to shape, holes were drilled and the laminates screwed to the hull. The position of each screw was marked in advance to ensure even spacing as the screws will be recessed and the holes filled with hardwood plugs. The laminates were removed and plastic tape stuck to the hull. The laminates were then glued and screwed in place using temporary steel screws. Once the epoxy had cured a large nail was heated with a blow torch and then used to heat each screw so it could be removed. | 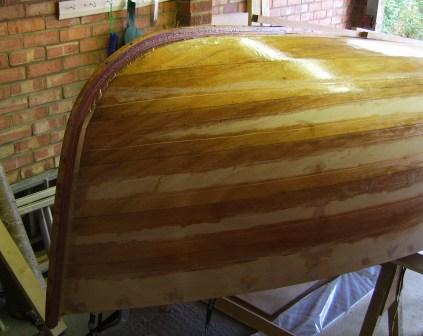 |
| The bow stem cap was then scarphed to the centre runner, the scarph joint was glued together by dry fitting both components to the hull. The centre runner either side of the centre board case was dry fitted in place. All parts were removed from the hull and 8mm holes drilled part way into each clearance hole, to be fitted with a hardwood plug once glued to the hull. Finally each part was rounded over using the router. A word of warning - the bearing on the round over router bit will fit part way into each 8mm hole taking a notch out of the wood - thankfully I realised this in advance as over 10 hours of time has been invested in the bow stem cap. | 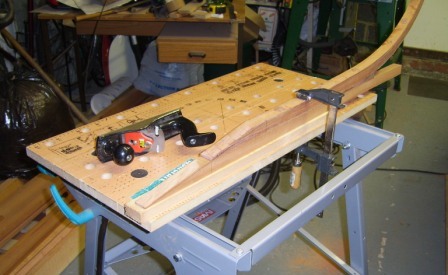 |
| The bilge runners glued and screwed to the hull. The screws were from inside the hull into the bilge runners - a simple task but a difficult one without a second pair of hands. | 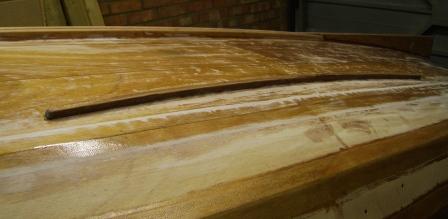 |
|
The gunwales were scarphed from lengths of utile and rounded over. The gunwale was to be attached with screws recessed and plugged.
It was (just) possible to find a starting position for the first screw and gap between each one so that no screw
coincided with the position of a screw already in the hull.
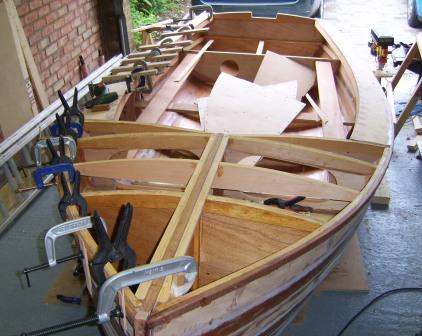
Lengths of wood with a block screwed to the end were useful in allowing use of small clamps to clamp the gunwale to the side decks.
It is a lot of work but it is time well spent as the bow stem cap and gunwales transform the appearance of the boat. |
 |